8 Common Filler Mistakes and How to Fix Them
Fillers are the unsung heroes of any kitchen remodel. They bridge gaps and keep your kitchen looking polished. Despite their importance, fillers often get overlooked and bad fillers can ruin an otherwise amazing kitchen.
Whether you're a DIY enthusiast or a subcontractor fixing someone else's mistake, understanding how to work with fillers the right way is critical. Let’s go over the most common mistakes we see in the field and how you can avoid them.
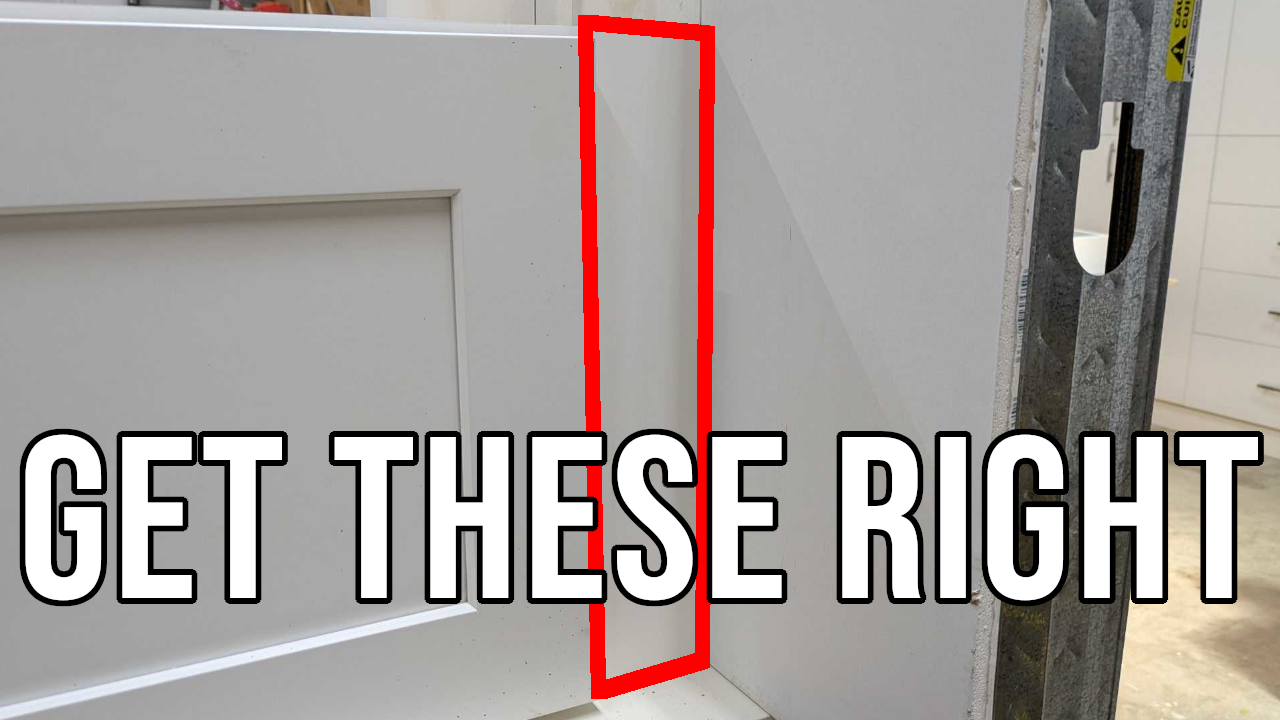
1. Not Scribing Your Fillers to the Wall
Walls are never perfectly level or plumb. So what do we do when we want to take a piece of material and keep it flush with our walls? If you install a straight filler against a wavy wall, you’ll be left with unsightly gaps. A lot of people (especially DIYers) will try to use caulk to cover up the gaps, which is the wrong way to go about it.
The Fix: Learn to scribe. Scribing is the process of contouring on object to your walls and floors. To scribe a filler, you just measure the widest part between the wall and the cabinet. With the filler clamped onto the cabinet, trace the wall’s contour onto the filler, which can be done with either a block or a compass. Then cut along that line with a jigsaw and sand it down. A flush, gap-free fit makes all the difference.
2. Overlay Fillers Too Tight Against the Door
Leaving no clearance between your overlay filler and the hinge side of your cabinet doors can cause rubbing, chipping, and long-term damage.
The Fix: Always leave a small gap between the filler and the door. A little breathing room prevents wear and tear. A 1/8th inch gap will usually be plenty for most situations.

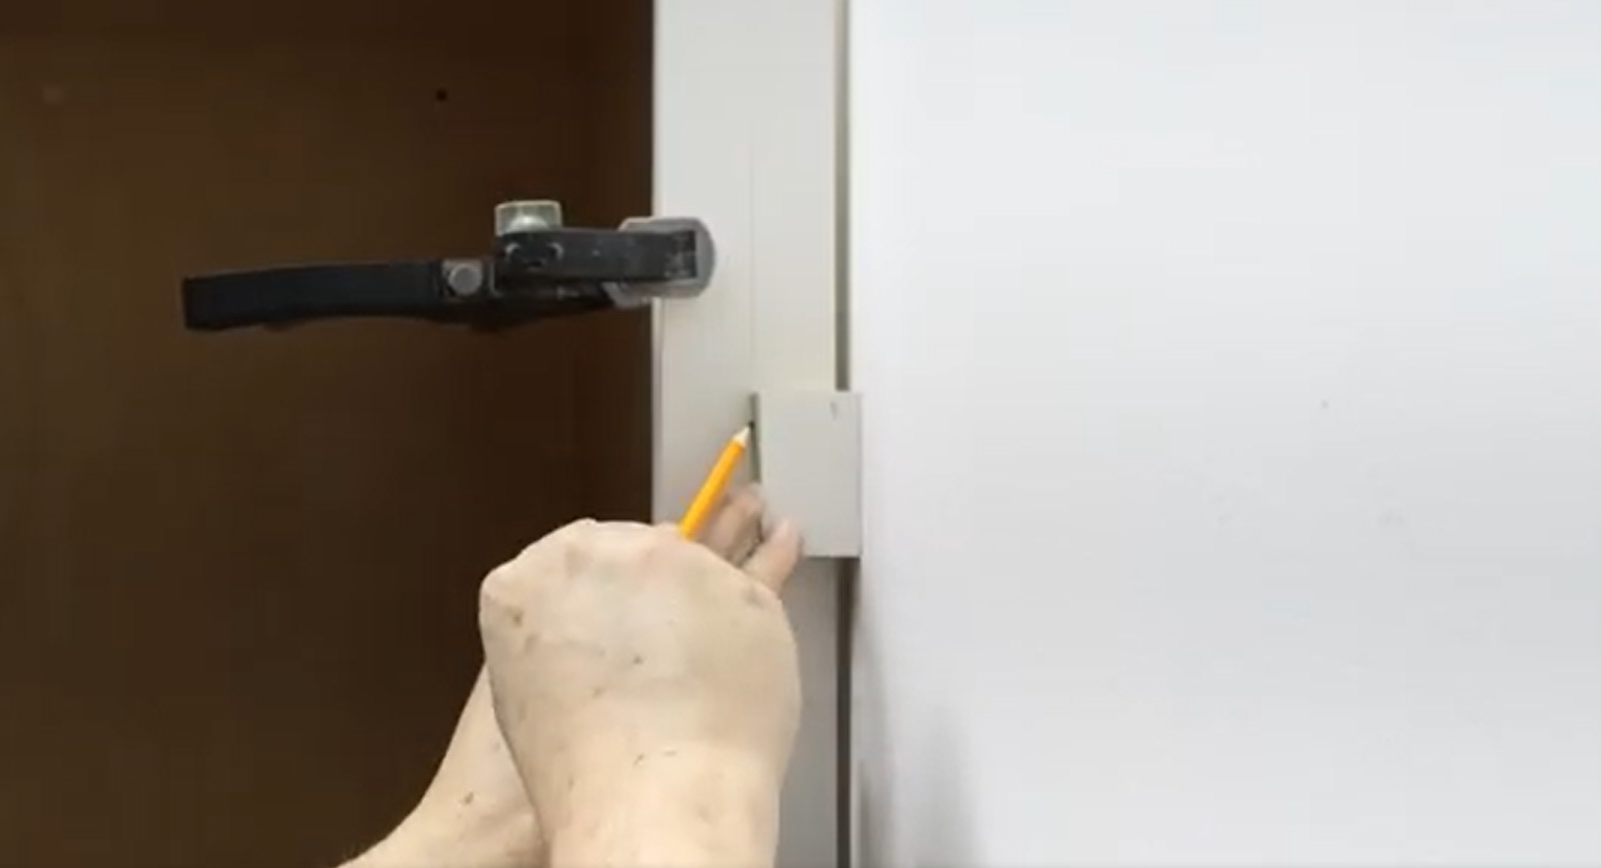
3. Overlay Fillers Are Not Flush with the Doors
Some installers miss the mark entirely and leave overlay fillers misaligned. If the front of the overlay fillers doesn't sit flush with the front of the doors, the cabinets will never look finished. Doors usually don't sit in direct contact with the face frame of a cabinet, and if your fillers are the same thickness as your doors (they usually are), then you can't directly screw the filler on without a spacer. Some manufacturers account for this by offering 1-inch thick overlay fillers, but this is less common.
The Fix: Use a spacer or bumpers to get the overlay fillers flush with the front of the cabinet doors. If your filler is already installed, adjust your door hinges to match the depth of the overlay filler.
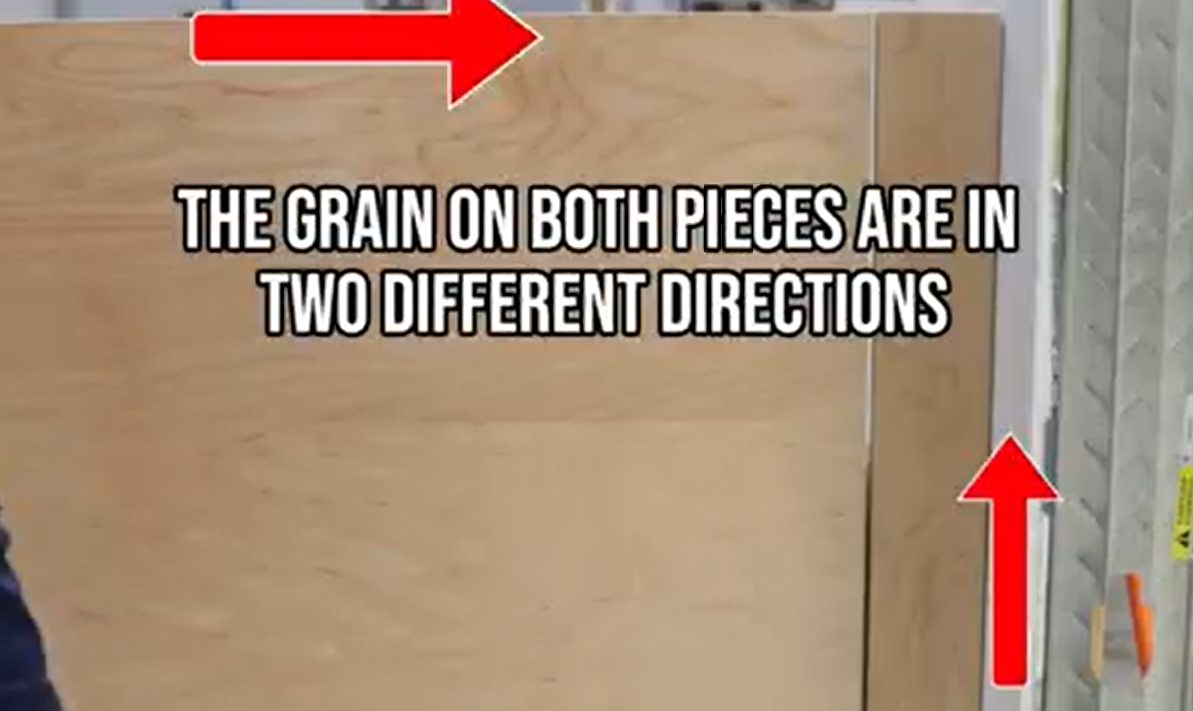
4. The Grain on the Fillers and Doors Clash
Even with perfect alignment, if the grain on the filler doesn’t match the doors, it will look off. Your eye will catch the inconsistency every time.
The Fix: When using stained fillers, match the wood grain direction with the grain of the doors.
5. Cutting Fillers Before Looking at the Whole Design
This one hurts, both emotionally and financially. Cutting all your fillers without checking the full design can leave you short on material. Sometimes designers will order extra material for insurance so they don't have to reorder material. Other designers order the minimum amount needed to save a few dollars and then it's up to the installer to manage the material. If you start cutting and discarding filler material carelessly, you'll be stuck with a bunch of leftover material that can't be used for any big cuts.
The Fix: Review the full kitchen design before making a single cut. Calculate how many fillers you need and how much material you have and then plan accordingly.
6. Discarding the Overlays
It doesn't happen often, but sometimes installers will throw out overlay fillers because they think it's extra material, which delays the project while replacements are reordered.
The Fix: Label your materials and review your plan before discarding anything.
7. Damaging Drywall
Forcing fillers into place, especially when scribing, can scratch and gouge the drywall behind it, and then you're left with another problem that’s a pain to fix.
The Fix: Don’t force it. A small gap can be filled with caulk!
8. Getting Lazy with Angled Fillers
If you're dealing with angled cabinet fillers, a single 45 degree cut may seem faster, but there's a problem with this approach. The seam will be off center from the corner, and if you have a countertop or molding over the seam, then you have broken some of the symmetry in the installation.
The Fix: Use two 22 1/2 degree cuts instead. It results in a more symmetrical look since the seam won't be offset one way or the other.

Be sure to watch our video about these mistakes which you can access by clicking here!