Tech Tip #4 - Installing Light Rail Moldings
Light rail molding can dress up the bottom of a cabinet run and is great for concealing under-cabinet lights. It is typically cut from ¾” stock and is 1 ½” high with a decorative profile on one long side that matches the outside edge of the door style.
Profile: A profile is the shape or contour of a decorative finished edge or surface.
Reveal: The visible portion of a surface that is exposed between the edges of a molding and the adjacent surfaces. It is essentially the space or gap that remains visible after the molding is installed.

The default front and side reveals for light rail are typically 1/8”. This slight offset makes the seam where the molding meets the bottom of the cabinet virtually disappear and creates a slight notch for caulking.
For framed cabinets, we can attach a ¾” x ¾” solid stock cleat aligned with the bottom of the face frame. This is what the light rail is going to be attached to when it is installed. A cleat can also be added to the back of the light rail along the top. Several 3/16” holes are drilled into the cleat for the 1 ¼” wood screws that will be used to secure the molding.

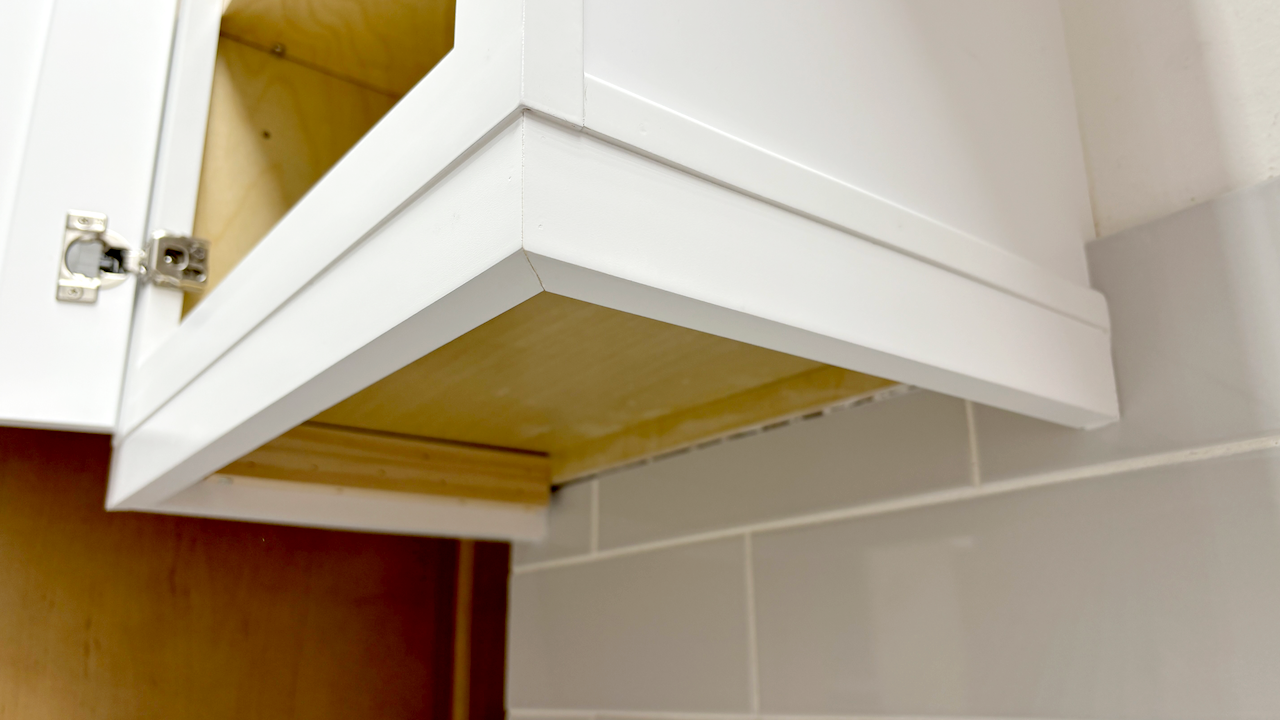
For full access (frameless) cabinets, we add a ¾” x ¾” cleat to the top of the light rail and then install it directly to the bottom of the cabinet as shown in the photo below.

Some installers will drive screws directly into the bottom of the light rail molding instead of using cleats, but using cleats is the best way to go. The cleats are hidden and many clients don’t want to see screws directly in the bottom of the molding.
Thanks for reading,
—The Cabinet Academy Team